Projects - How to use Jira
<< || Cards < || Kanban template >
In short, projects are a collection of issues with added functionality for organising them, getting statistics, etc.

Creating a project
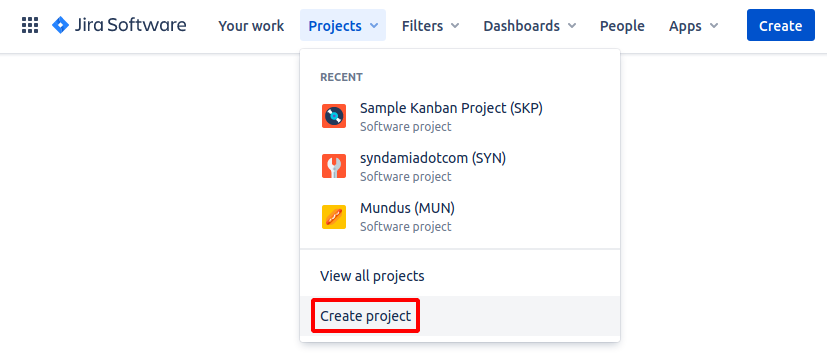
To create a project, either click on Create project from the menu Projects in the top bar,
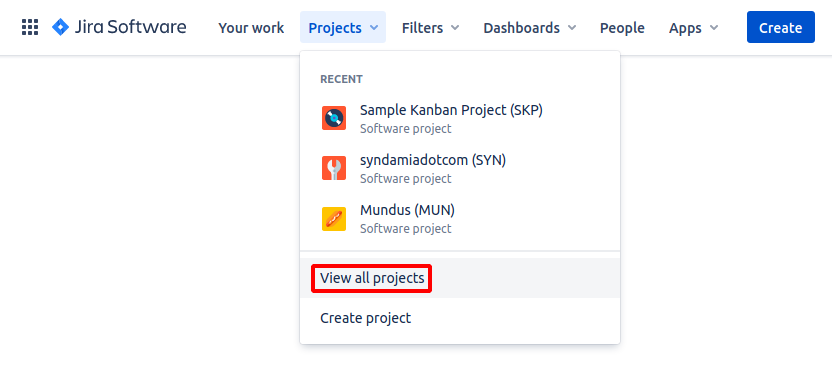
or click on the Create project button in the View all projects page.

Note: when you have created your account the first thing you'll see is the Create project page.
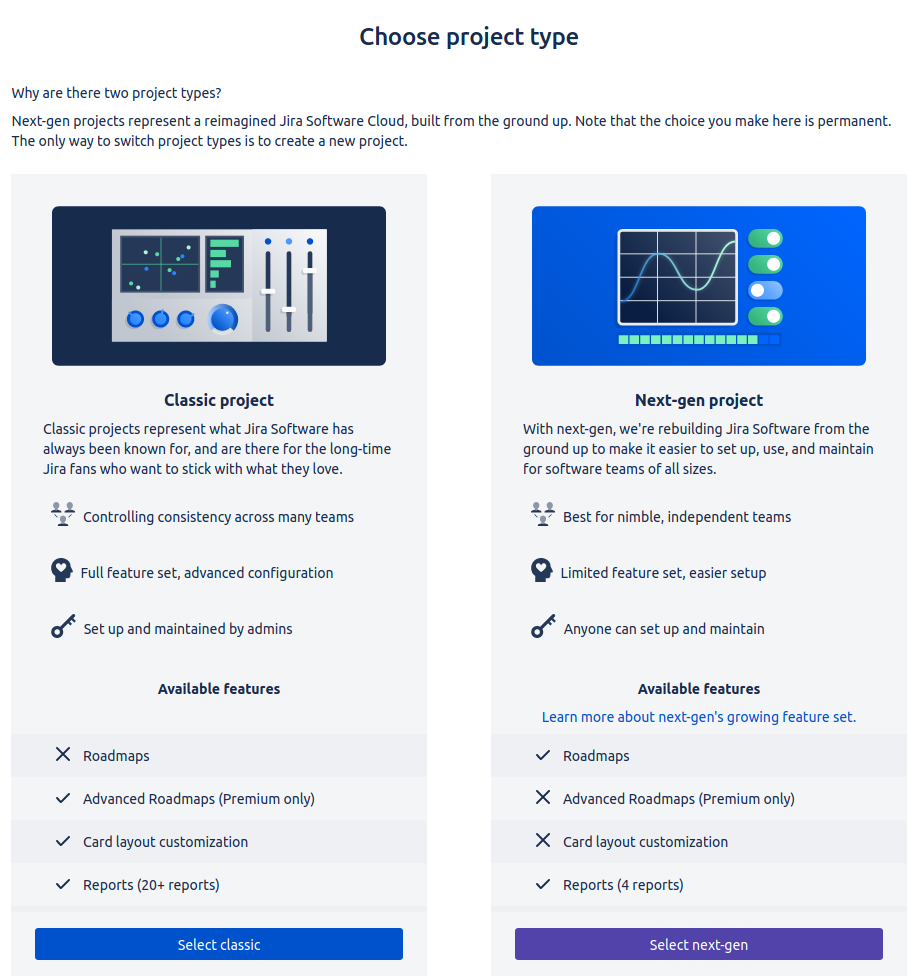
You'll be met by the Choose project type screen. From here choose Classic project, in this tutorial the Next-gen project types won't be covered.
After that you'll need to put a name for your project, set a key (used as an ID for issues ; it is automatically generated, but you can change it if you want) and select a template.
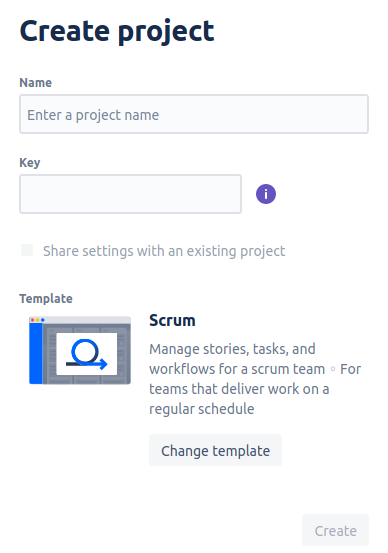
This tutorial covers only the three classic software templates: Kanban, Scrum and Bug tracking.
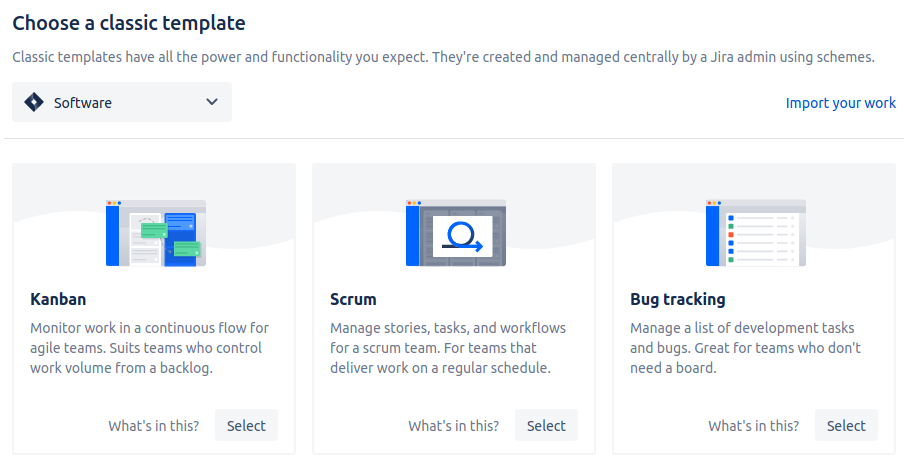
In a nutshell, templates govern how boards and issues should work together. Later in the tutorial we cover the differences between these templates.
Projects also have Releases, Pages and Components, that are also explored.
Boards
Each project contains, amongst many other things, boards. Boards are a way to better organise results from filters. By default every project gets a board with a filter for all of the project's issues.
Columns
Boards are divided into columns that contain the cards (issues). A card can move freely from one column to another.
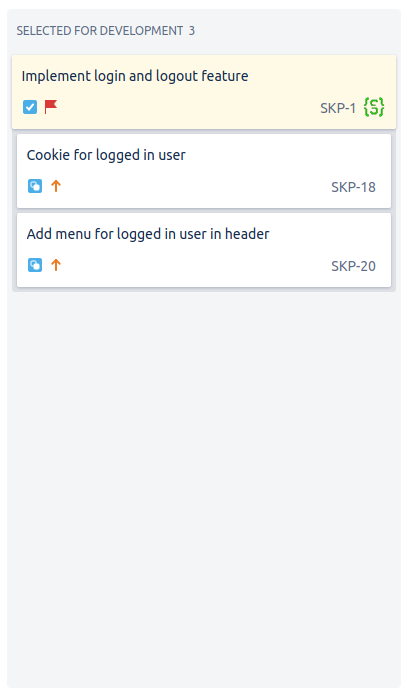
To illustrate how this could be useful, let's say we have three columns: TO DO, DOING and DONE.

When you create an issue you initially put it in the TO DO column. After someone has started working on it, they put the issue in the DOING column. Finally, when the issue is resolved, it is put in the DONE column.
Of course, the name, quantity and purpose of different columns depend on the project's organisation.
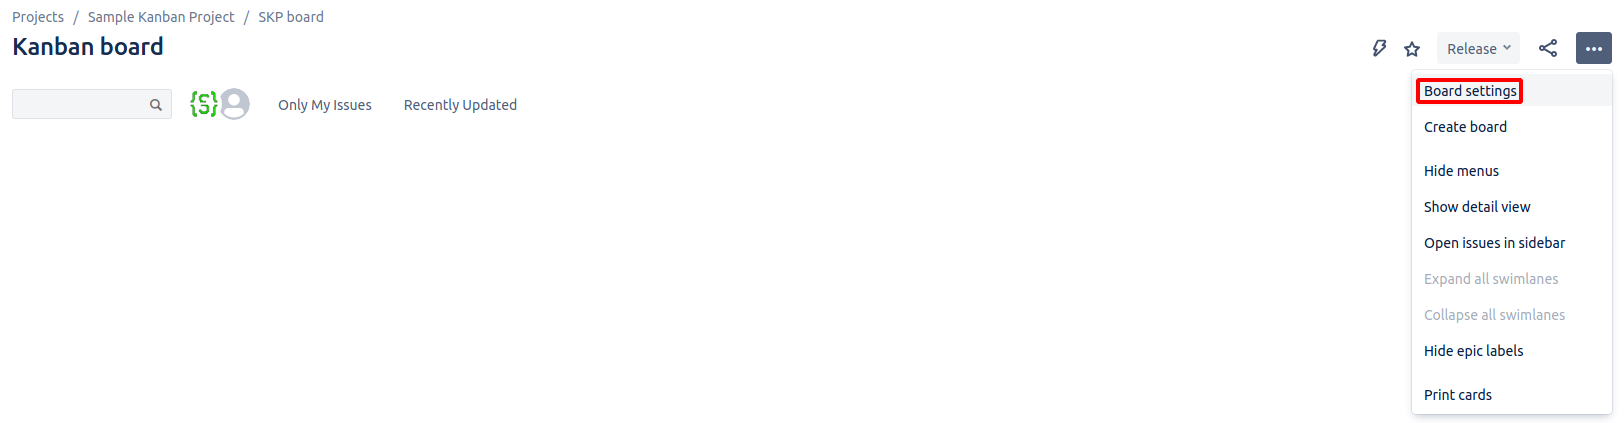
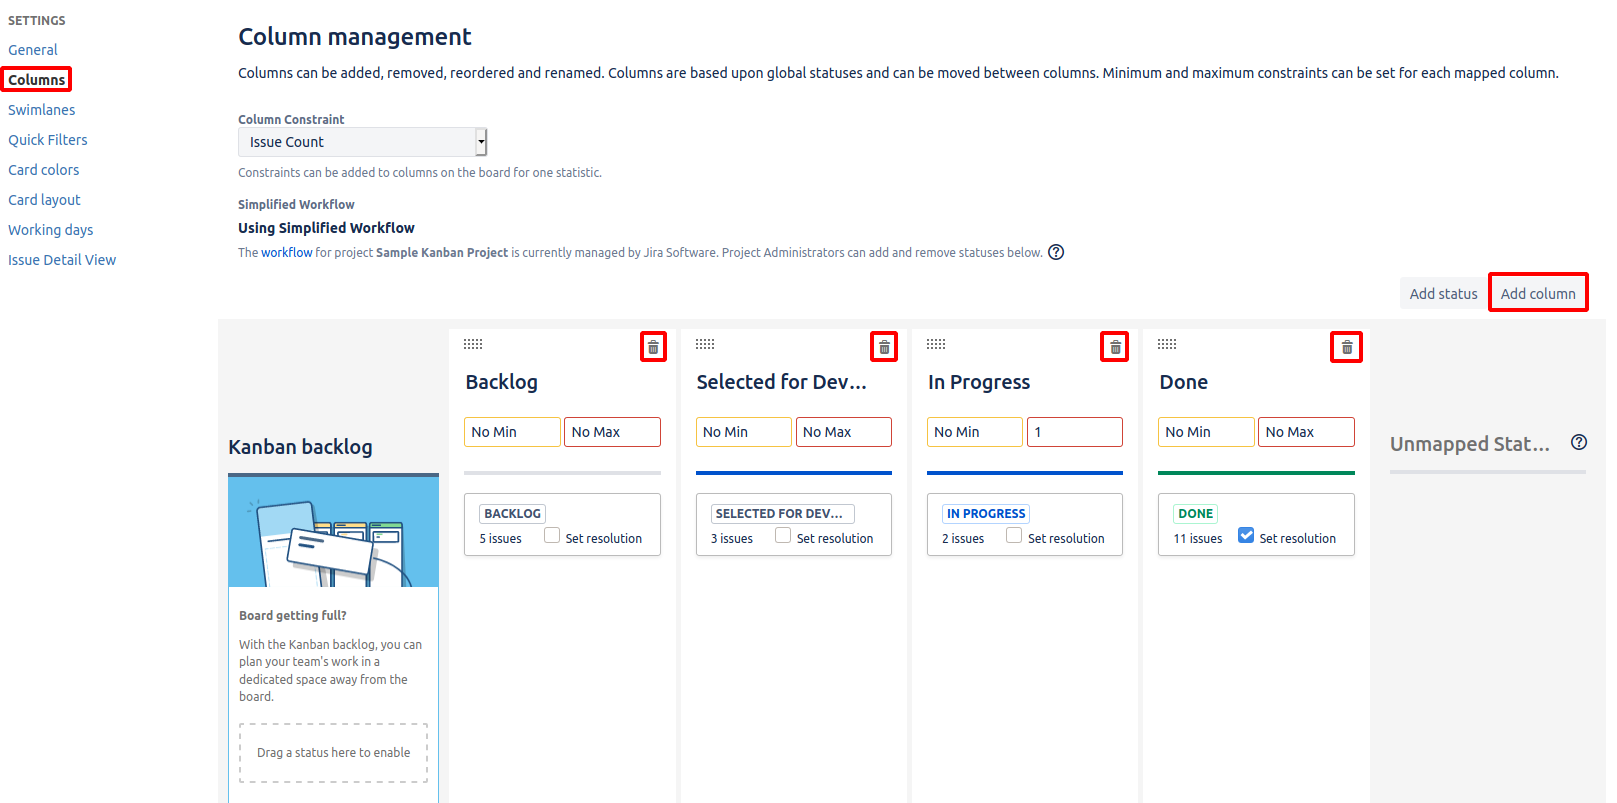
Adding and removing columns can be done from the Columns tab in the Board settings menu (three dots on the top right of a board).
Adding more boards to a project
You can also add to a project as many Scrum and Kanban templated boards as you want.
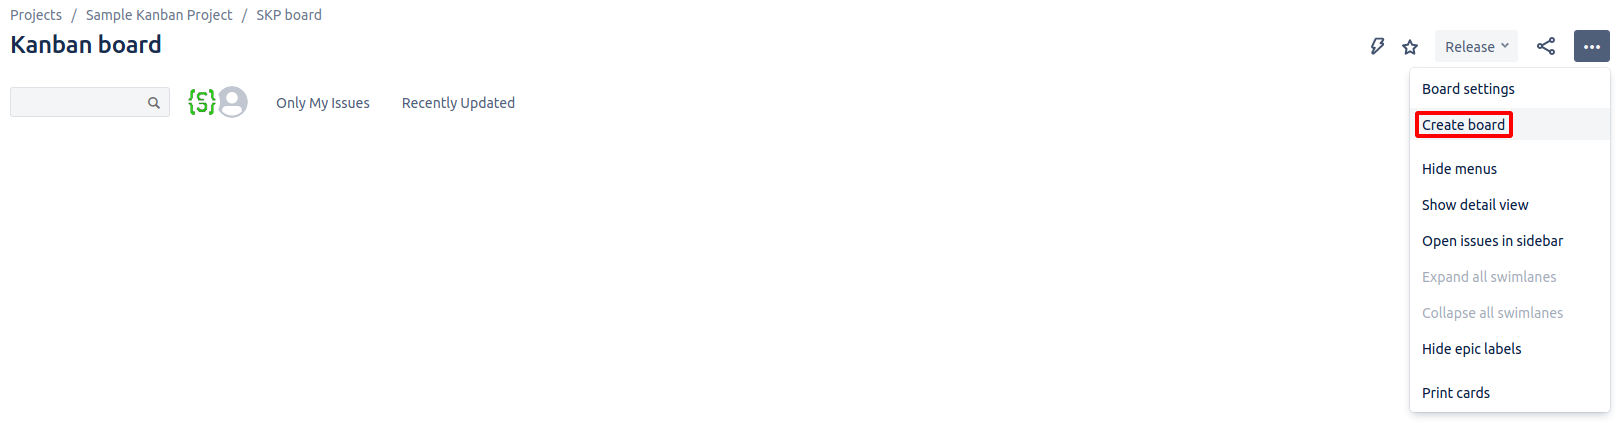
This can be done, either while in a board, from clicking the three dots and choosing Create board
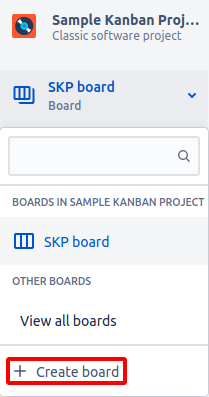
or in the sidebar, from the Board menu.
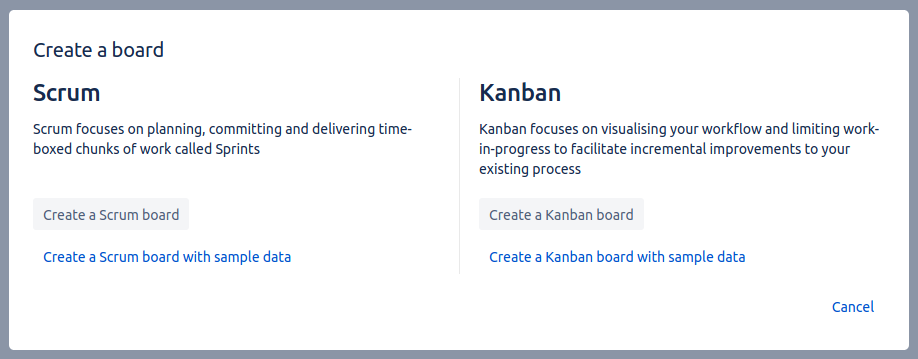
After that, you are met with the Create a board window, where you can choose your template.
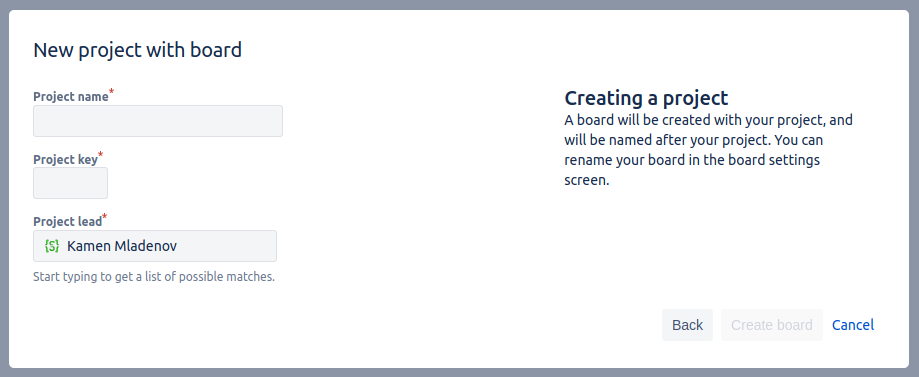
Once you've made your choice, you will be met with three options:
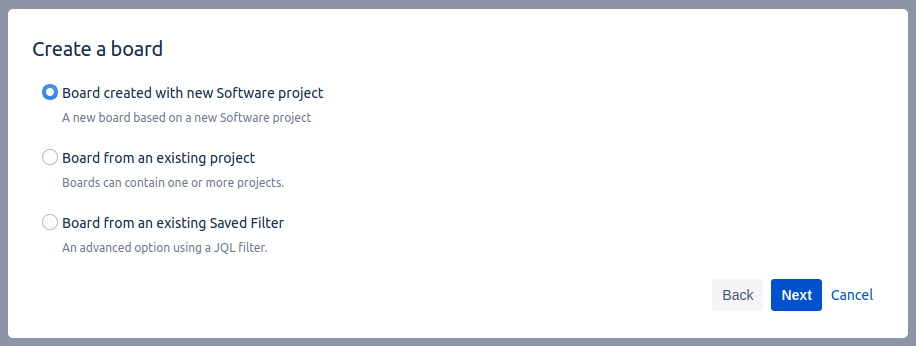
- Board created with new Software project - creates a new project with a new board (has the name of the project).
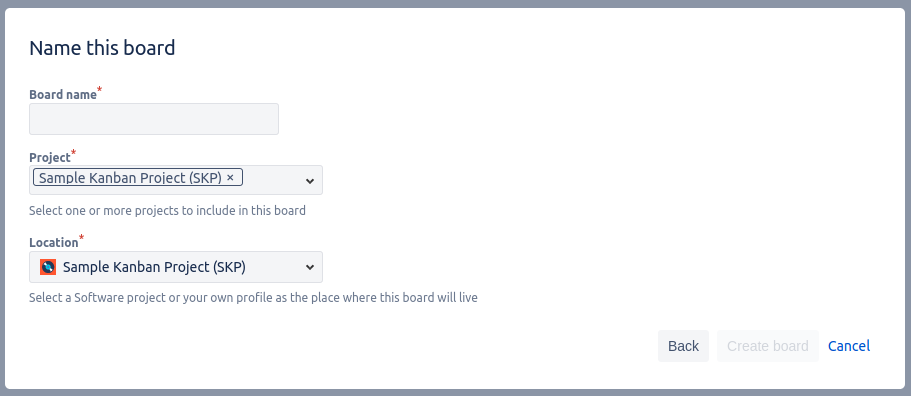
- Board from existing project - creates a board that gets the filter from another project
- Board from an existing Saved Filter - as it says, you add to the project (indicated in the
Locationfield) a board based on a saved filter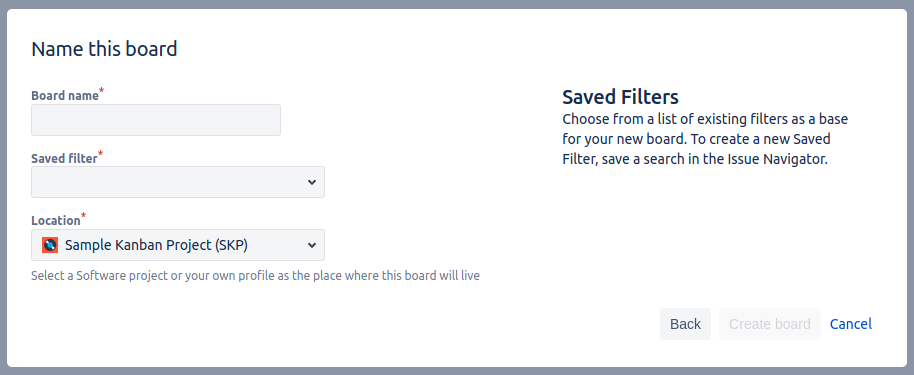
Backlog
The backlog is a place for issues that outline a general task/feature.
Depending on your project template, the backlog will either be a separate window (Scrum),
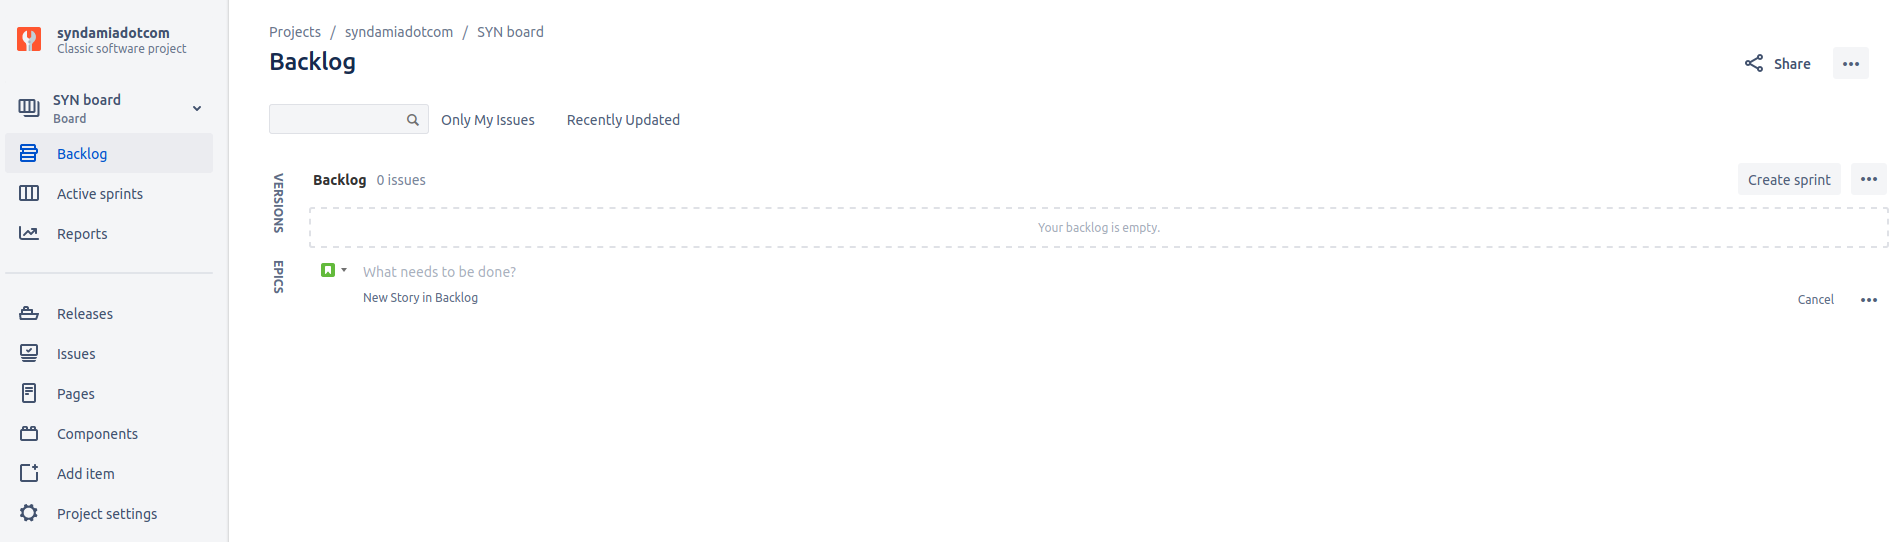
just a column in a board (Kanban),
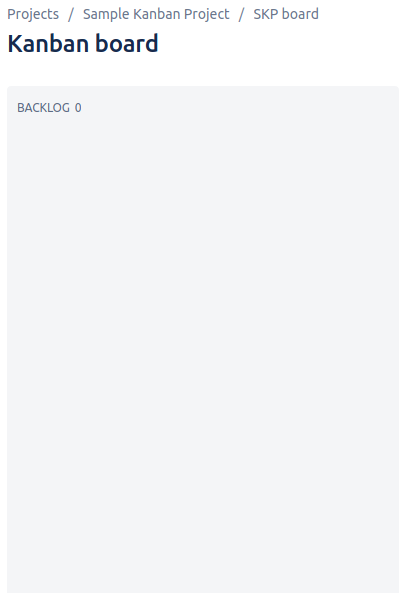
or nonexistent (bug tracking).
The purpose of the backlog depends on the template and it is described in the page of each template.
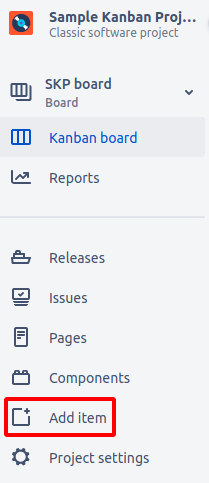
Add item
You can also add some resources to the sidebar of your project for everyone to use. That is done through the Add Item menu.
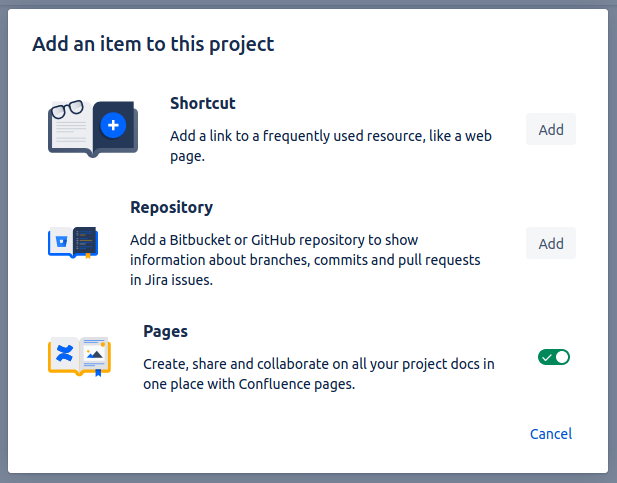
From here you can add a website shortcut, simply by putting the web address and giving it a name.
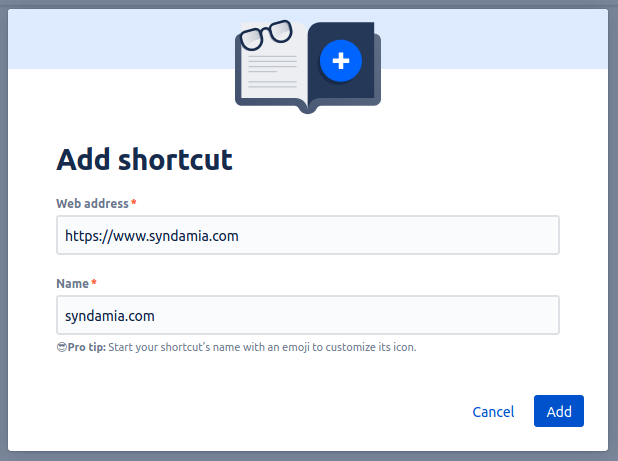
The name is used for showing the shortcut on the sidebar.
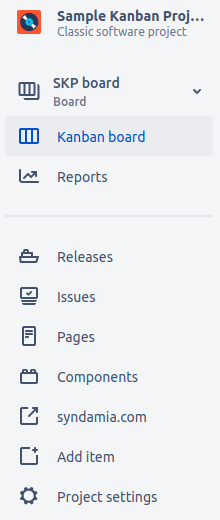
You can also add a Bitbucket or GitHub repository which you can leave only as a shortcut, or you can integrate it so that issues are transferred to Jira.
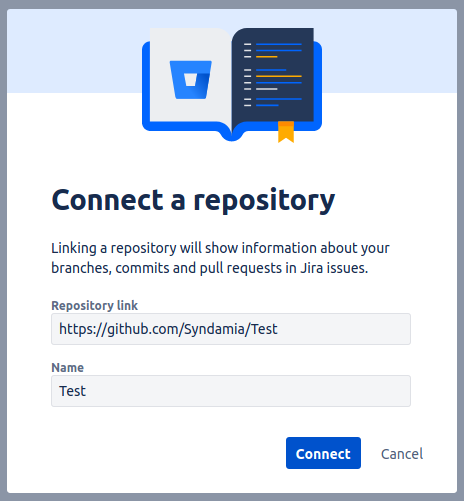

Integration won't be covered in this tutorial, but I can recommend this article for GitHub integration and this one for Bitbucket integration.
From the Add Item menu you can also toggle the shortcut to Pages.