Cards - How to use Jira
<< || < Filters || Projects >
Contents
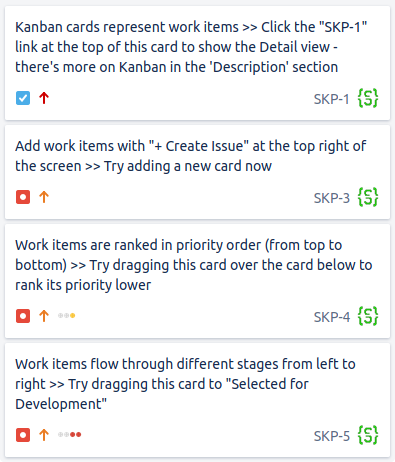
Each issue is represented as an object with properties. More specifically, these objects are called ‘cards’.
Properties
#Each card has the following properties:
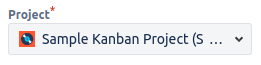
Project - the project this card is stored in
Issue type - the basic purpose of an issue (Improvement, Bug, …)
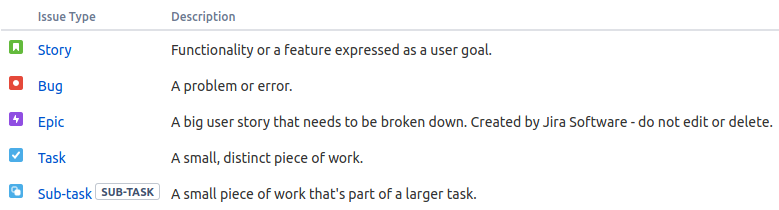
 - functionality or feature expressed as a goal, something like “As a user, I want to be able to pay for my order via PayPal”
 - a problem/error
 - a collection of issues, issues are linked through ‘Epic link’ (see below)
 - a small piece of work
 - an issue that is directly connected to another issue. This is used for when a given issue needs to be broken down into separate even smaller issues.
Summary - a (required) brief explanation of the issue

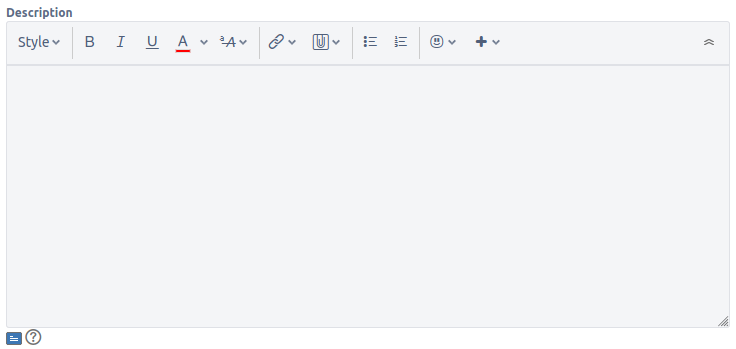
Description - detailed explanation of the issue
Reporter - person who created the issue

Assignee - person who will work on the issue

Labels - tags with which you can organise even more the issue

Epic link - link of issue with type Epic

Creating
#To create a card yourself, you need to press the Create button on the top bar.

Viewing
#All cards (issues) can be viewed from a project’s side menu, under ‘Issues’.
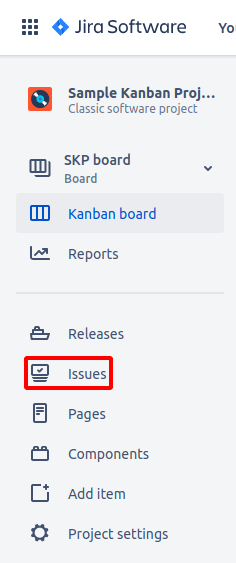
Of course, they can also be viewed through filters and a project’s board.
How to use
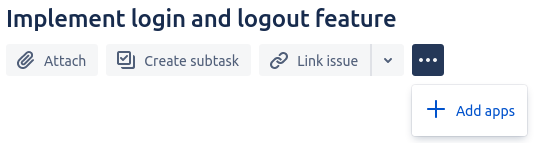
#By default, opening a card presents, at the top, it’s key (think of it as an ID),

it’s summary below it,

options for adding attachments, subtasks, linking issues and adding more apps (think of apps like extensions),
following are the description, actual attachments, subtasks, linked issues, etc.,
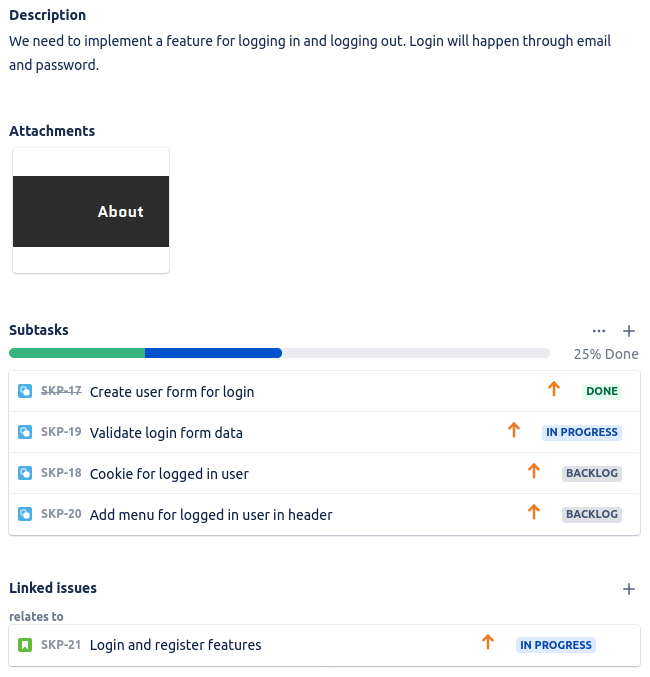
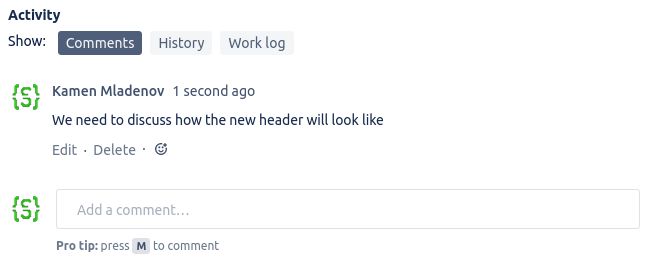
and at the bottom you have the activity, consisting of comments on the issue,
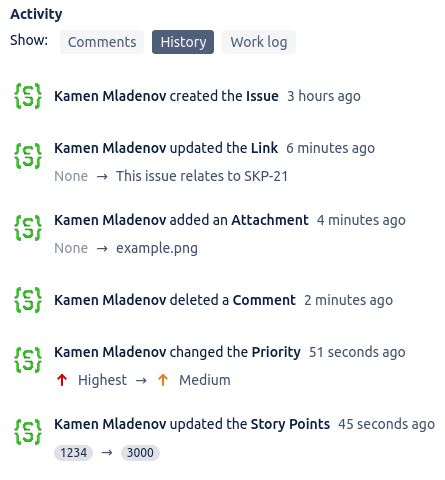
history of things that have happened to that issue,
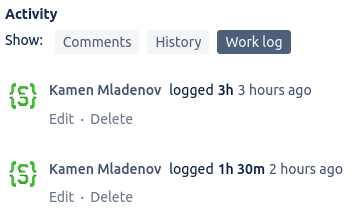
and work logs (a bit later we talk about them in more detail).
Right side
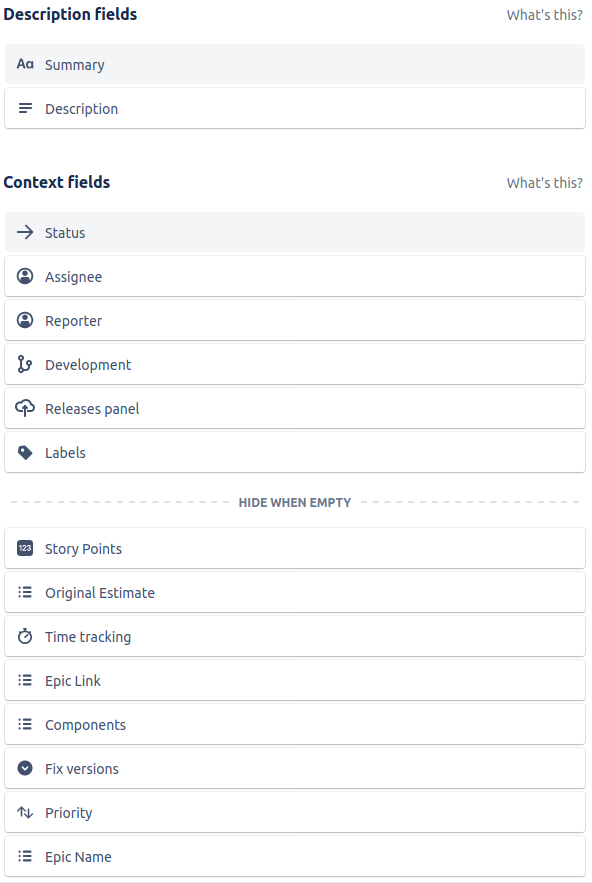
#To the right side, you have all of the different properties (some fields without a value will be hidden).
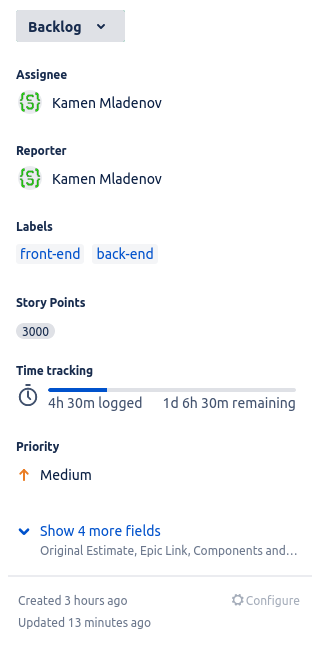
On the top right you can change watch options (watching an issue means you get notified by all changes done to it), you can share the card and do actions (the three dots).

Actions are things you can do to the whole card, like moving or deleting it.
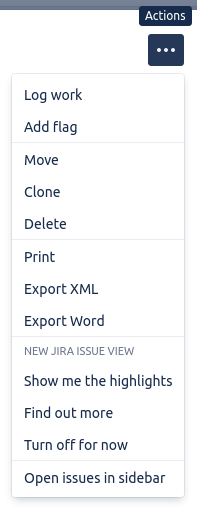
The most notable options are Log work and Add flag.
Work log
#In Jira, you can estimate how long an issue will take for it to be resolved. This is done through logging work.
In the Log work screen, you’ll be met with a Time spent and Time remaining fields, that you’ll need to fill with the appropriate information.
![]()
The time remaining takes a default value from the previous time log, so you don’t need to specify it every time.
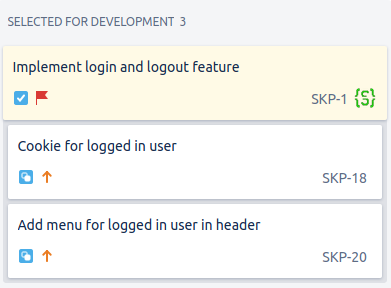
Issue flagging
#A flagged issue is an issue that is very important. Flagged issues are displayed in yellow to signify their needed attention.
Basic issue information
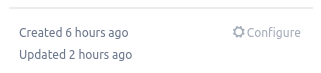
#On the bottom right you can see when the issue was created and when it was last updated. You can also access the field configuration menu from the Configure button. It won’t be covered in this tutorial, you can read about it here.