Install Plan 9 with virt-manager
Installing Plan 9 by Bell Labs with qemu itself isn’t difficult and there are official instructions. However, when using virt-manager, there are certain uncertainties that might worry a first-timer and certain issues that arise.
Creating the virtual machine
#We’ll be installing Plan 9 with a CD (ISO) image. You can download the latest version (compiled every night) from here. For a compressed version and checksums, refer to this page.
Press the “Create a new virtual machine” and select “Local install media (ISO image or CDROM)”
For the install media select the extracted
.isoCD image of Plan 9 and for operating system chose “Generic or unknown OS (generic)”For memory select 512 MiB (the default 1024 MiB is also fine) and 1 CPU
- Plan 9 is stupid lightweight and according to the installation instructions you need 16-32 MB of memory, but I still prefer to give it a little more, just in case I decide to do something extreme.
- You can also increase these values as much as you like, Plan 9 should be able to handle the more resources
If you plan to only test the OS out, choose “Create a disk image for the virtual machine” and enter 2 GiB of size. If you plan more serious use, you might want to follow the qemu instructions and create a larger disk in the
.rawformat.Finally click finish.
Installing Plan 9 itself
#If everything worked correctly, on boot you should see the screen in step 1. From here on out, it’s dead simple, and I even recommend just going through Hatty Hacker’s “Basic Plan 9 Installation” YouTube video. I’ll show a more abridged version of what you need to do.
On the boot screen press 1 and enter

On the questions “use DMA for ide drive” and “mouseport is” press enter
On “vgasize” press enter, or set up a higher (standard) resolution with 24 colors. Examples:
1920x1080x24,1280x720x24- A very incomplete list can be found here
Very important! On “monitor” enter
vesa.xga(orvga) will work during installation but seem to break when booting the installed OS.- If you mistakenly leave it at
xga, refer to this tutorial.
- If you mistakenly leave it at
From here on out, you press enter at most of the prompts. The following list enumerates all cases where you need to do something else than press enter.
On “Disk partiton” question, enter
sdC0(the option that says Hard Disk on it)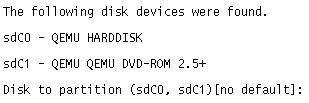
On “Install mbr” question, enter
y
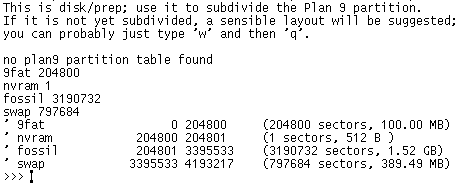
When you get “>>>” before the cursor, press w, then enter, then q and finally enter. This should happen twice, when in
disk/fdiskanddisk/prep
On “Distribution disk” type out the one that ends with
data(and potentially hascdrombesides it). This is most commonly/dev/sdC1/data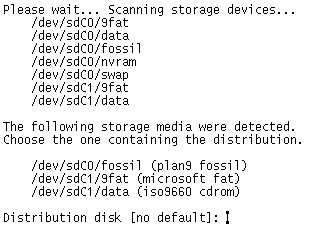
When you get “/%” before cursor (during mountdisk task) just enter
exit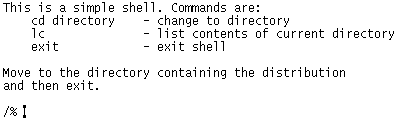
On “Enable boot method” enter
plan9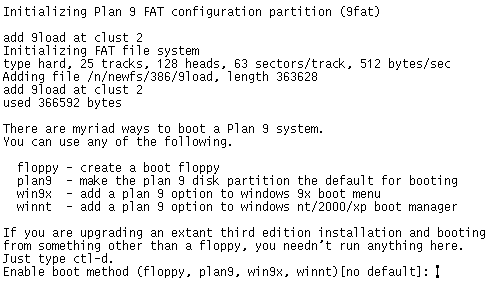
After finishing the installation and seeing the message “Feel free to shutdown your computer”, Force Off the virtual machine and then power it on again.
On boot, on the first prompt press enter, and on the second enter glenda. Enjoy Plan 9!